Lockheed TR-1A Dragon Lady
(Italeri 1/48)
by Akio Hasegawa, M.D.
The kit is Italeri's 1/48 Lockheek TR-1A/B ultra-high altitude reconnaissance aircraft with high aspect-ratio wings. BTW, TR of TR-1 measns acronym for tactical reconnaissance.
I re-started this modeling in April 2016, after mid-course cold storage for a while, exclusively in the weekend at Hayama's retreat.
(To view the images, click the underlined phrases, and to return to this page,
click RETURN key on the toolbar of your browser. All pictures here are shot by me, a seasoned-pathologist, with digital SLR Nikon D3000 Serial #2001042 with old Nikkor-S 35mm 1:2.8 Serial #380104, i.e., manual focus/manual exposure)

(Crick for English description)
This site is licensed under a Creative Commons License.
(Crick for Japanese description)
Completed Images
TR-1A Dragon Lady (Crick to enlarge),
TR-1A Dragon Lady (Crick to enlarge),
TR-1A Dragon Lady (Crick to enlarge),
TR-1A Dragon Lady (Crick to enlarge),
TR-1A Dragon Lady (Crick to enlarge),
TR-1A Dragon Lady (Crick to enlarge),
TR-1A Dragon Lady (Crick to enlarge),
TR-1A Dragon Lady (Crick to enlarge),
Chronology
2016.4.23. As this model is very old, which was released in 1988, partition lines are molded convexed. So I start this project with line engraving using specialized chisel - Photo-1, Photo-2.
2016.4.29.-5.5. (consecutive holidays in May in Japan) Partition line engraving continues - Photo-1, Photo-2.
This weekend's achievement
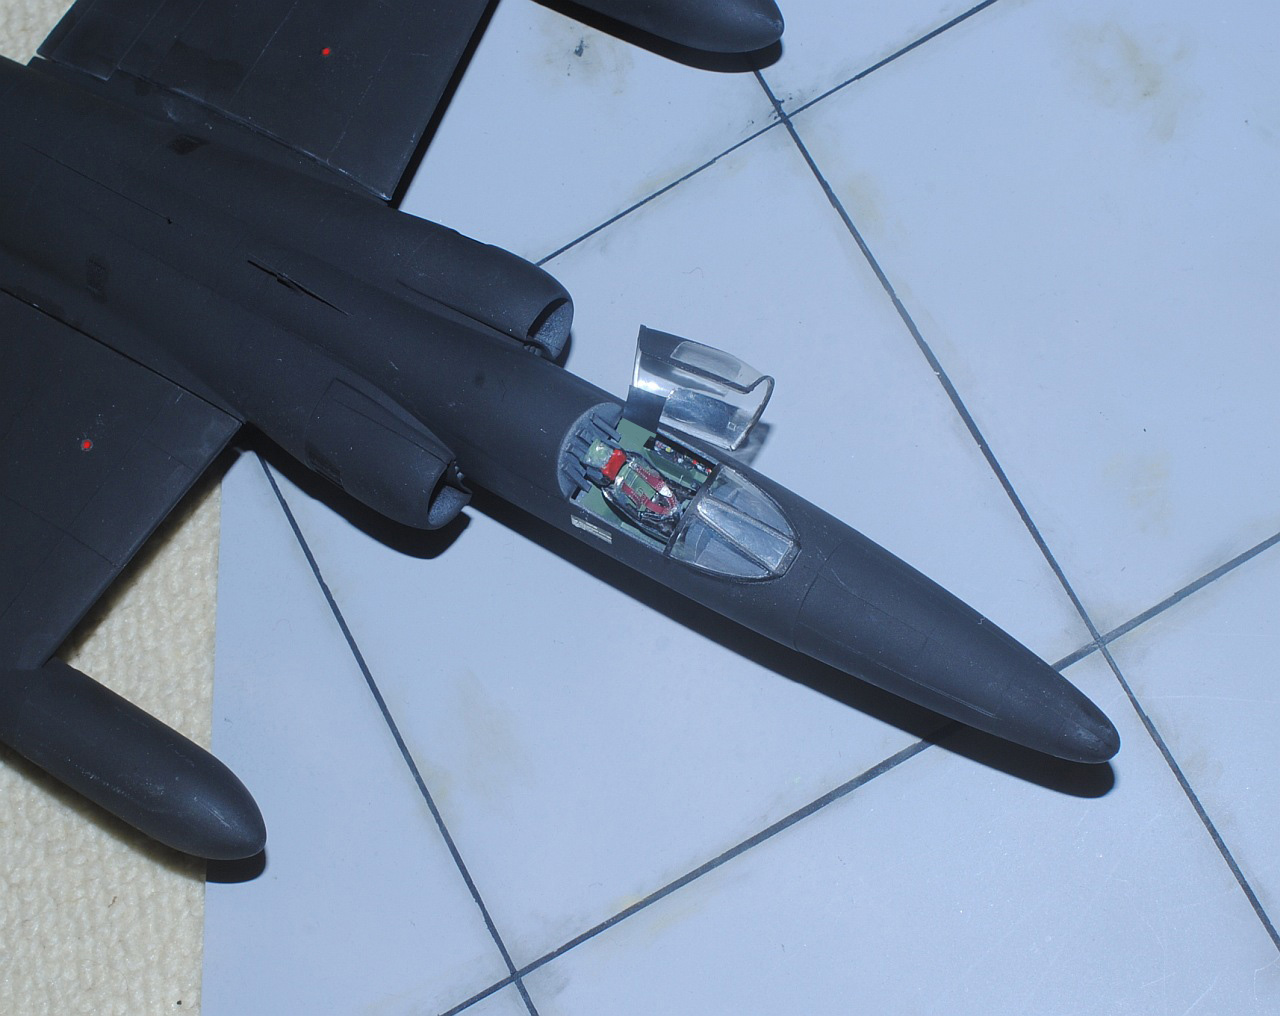
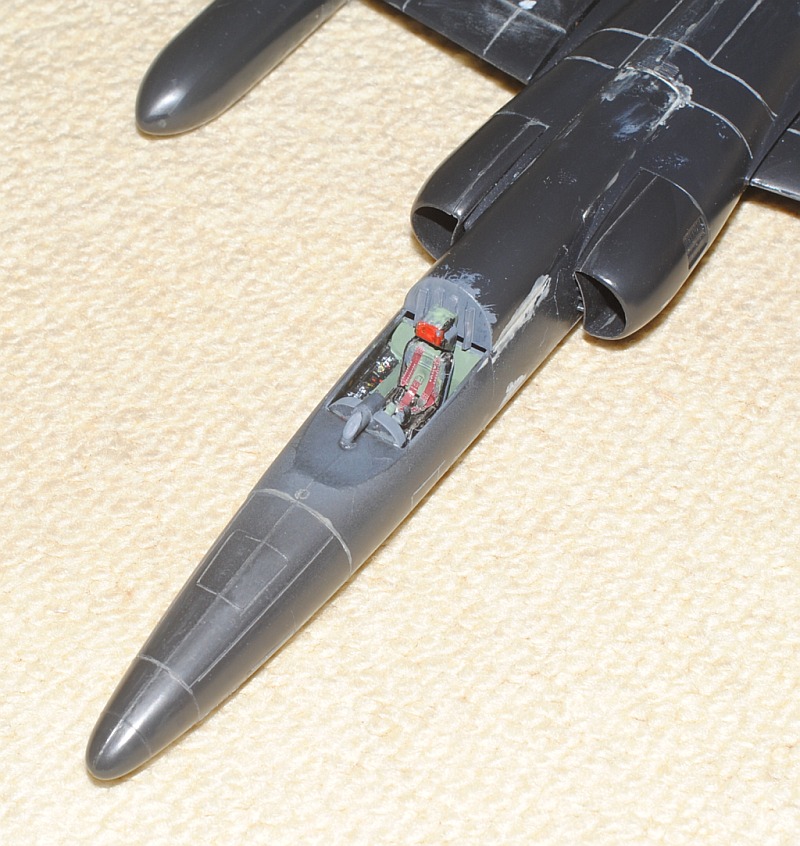
2016.7.2. Cockpit is almost completed, with add-on seat belts by Eduard - Photo-1, Photo-2.
This weekend's achievement
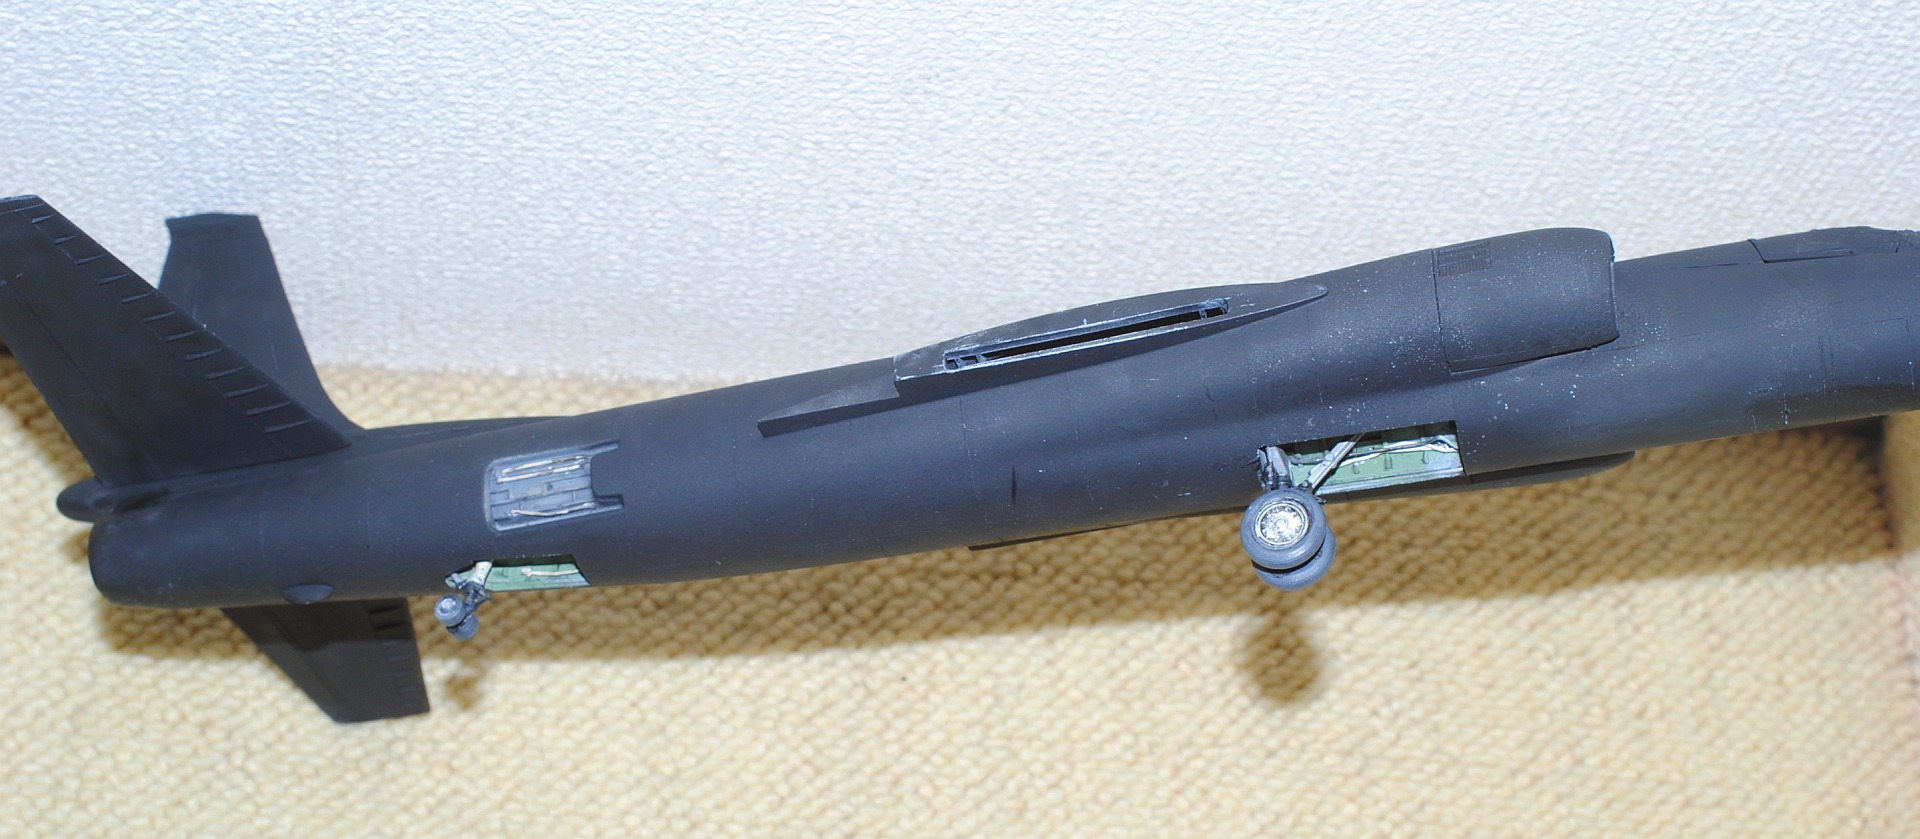
2016.7.16-17. Final touch of the cockpit and piping of undercarriage and airbrake bays done - Photo-1, instrument panel is painted with thin brush. Seat belts are by eduard, Czech - Photo-2.
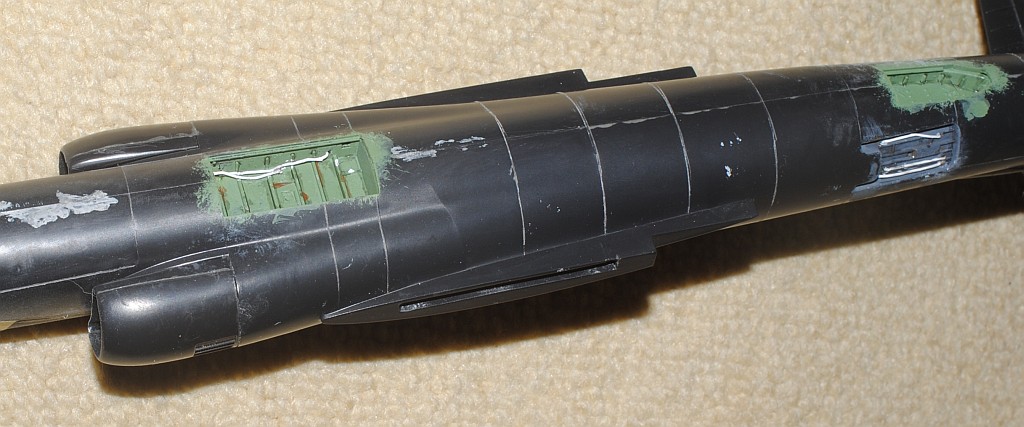
Piping of undercarriage well - left side, with 0.5 mm aluminum wire - Photo-3, and of the left air brake bay - Photo-4. Then, piping is painted white, with additional application of panel-line accent color (Tamiya) - Photo-5, undercarriage well, right side - Photo-6, air brake bay, right side - Photo-7, air brake bay, left side - Photo-8.
This weekend's achievement
2016.7.30. Final retouch of the cockpit and additional piping of the undercarriage wells (anterior and posterio) is done - Photo-1 cockpit, Photo-2 anterior undercarriage well, Photo-3 posterior undercarriage well .

This weekend's achievement
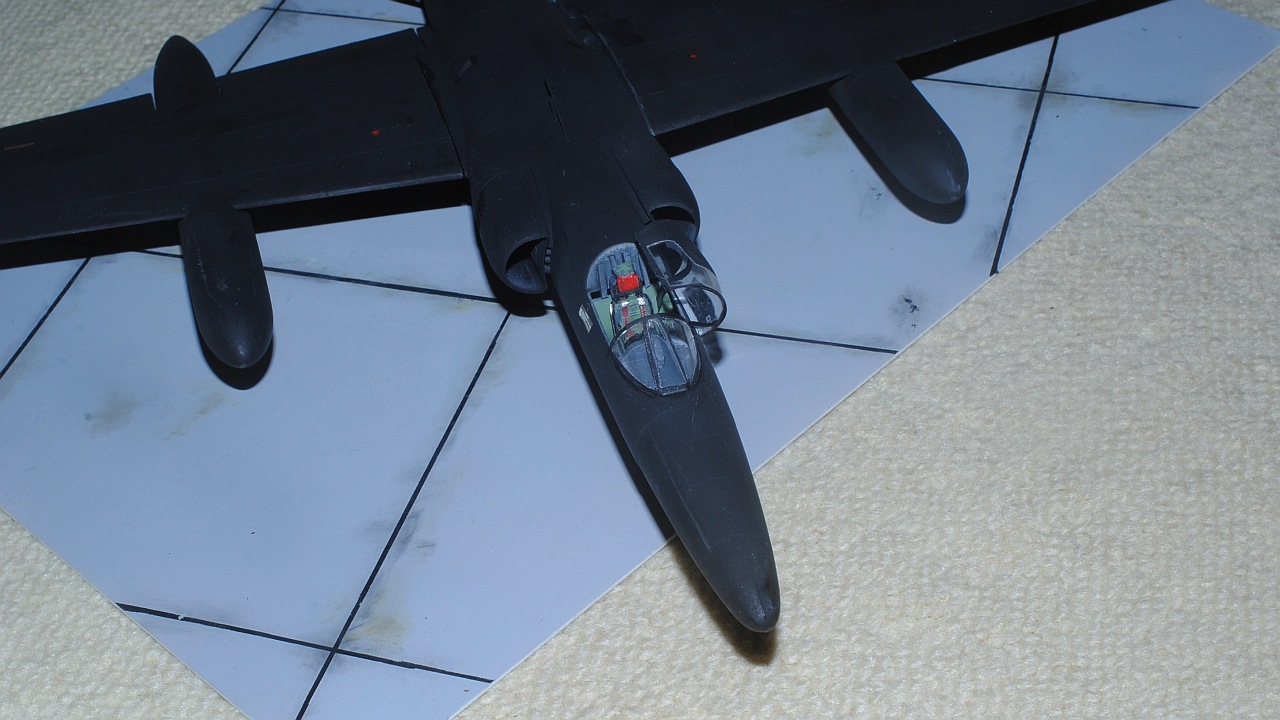
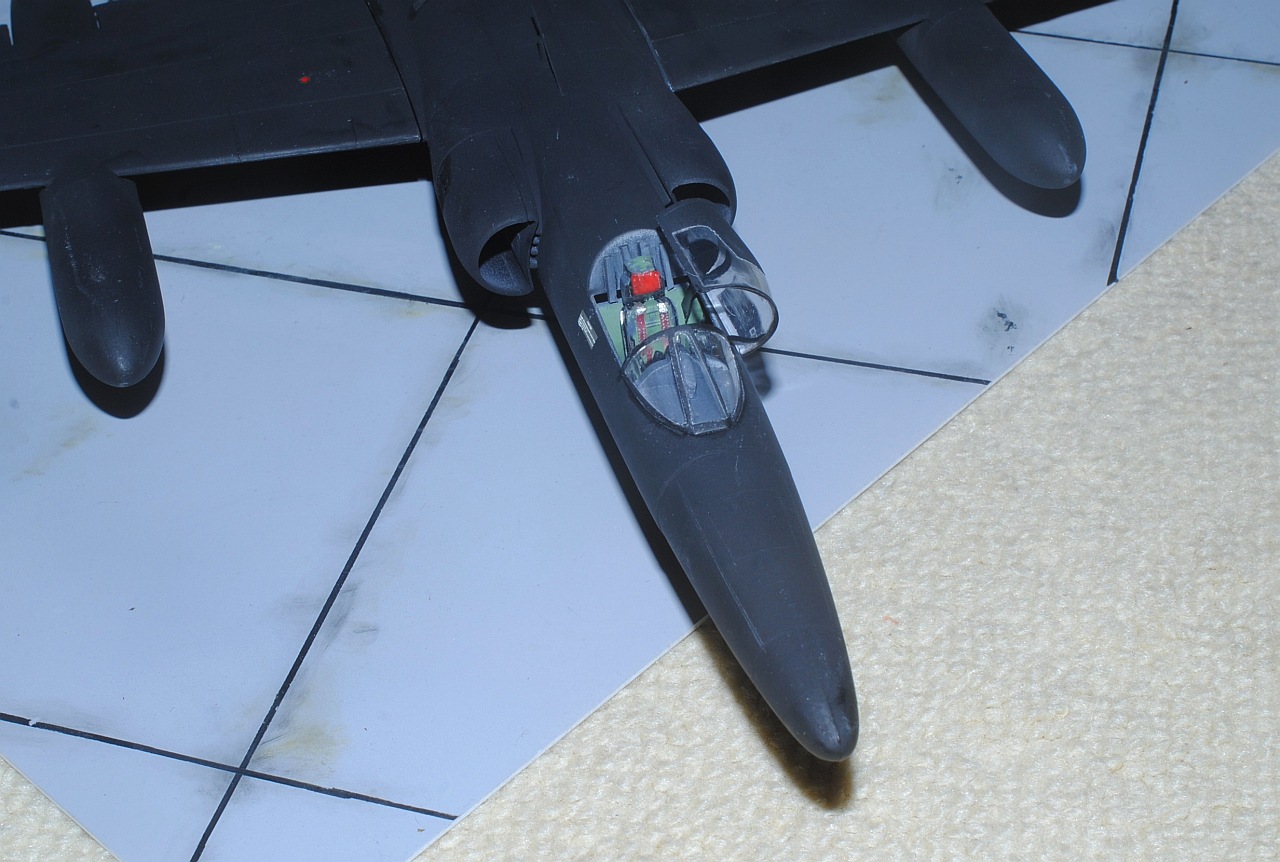
2016.8.28. After cockpit is finally checked, wind screen panels are glued and cockpit canopy cover is temporarily taped - Photo-1, Photo-2 .
2016.10.1. Masking of canopy with tape and sol is completed - Photo-1, Photo-2 .
2016.10.8. Tamiya surfacer (gray) is thinly applied - Photo-1.
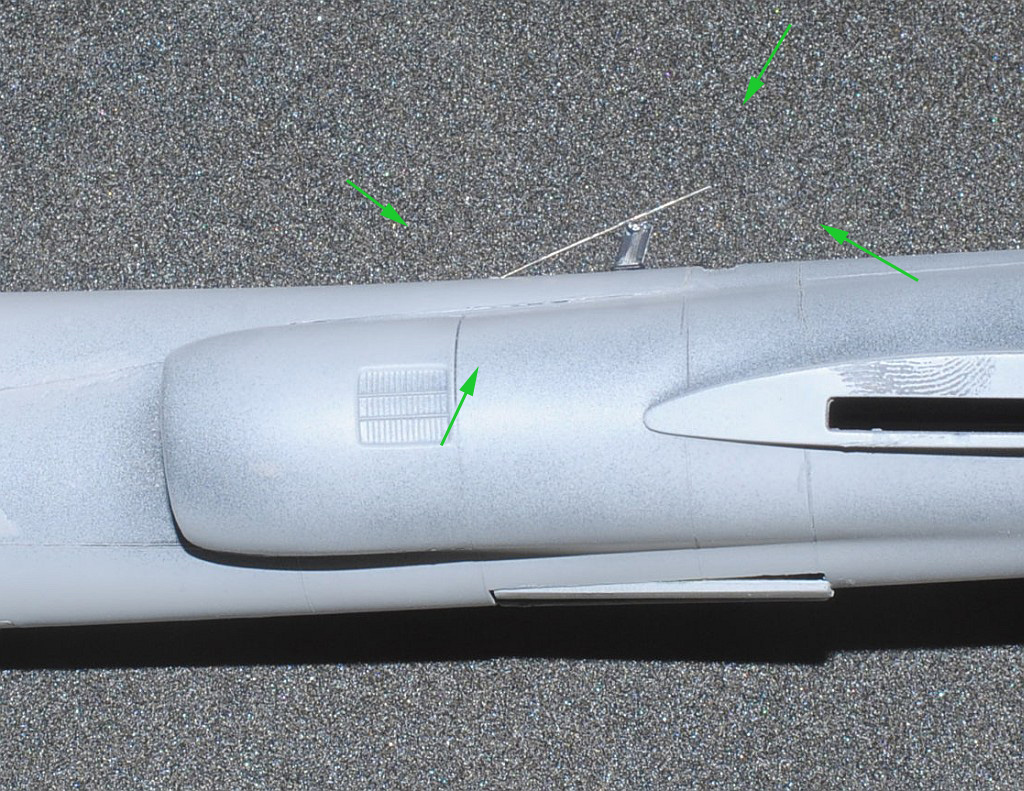
2016.10.22-23. UHF/ADF antenna installed with self-produced parts. I assemble de novo with 0.3mm white metal wire - Photo-1,
Photo-2. Then, flat black is sprayed with compressor, it is just beginning - Photo-3.
This weekend's achievement
2016.10.29. Flat black spraying is almost completed using compressor -
Photo-1,
Photo-2 Tentative assembly - 1,
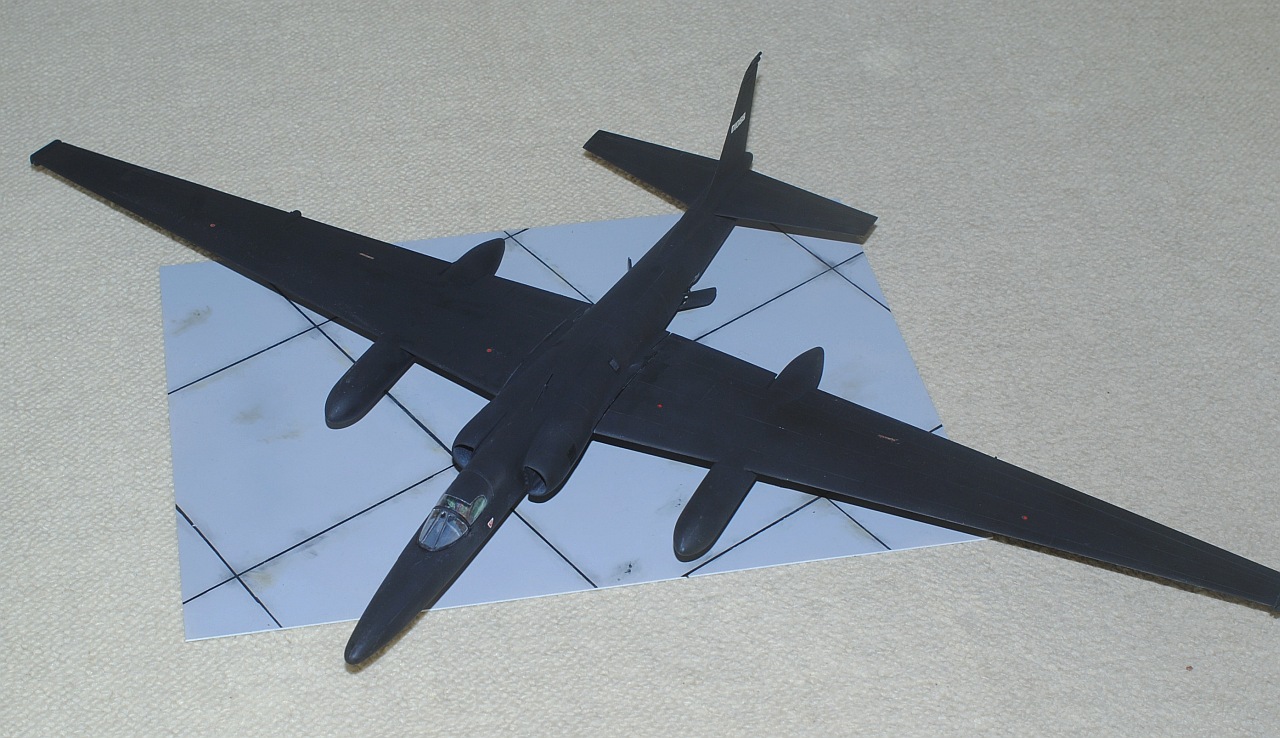
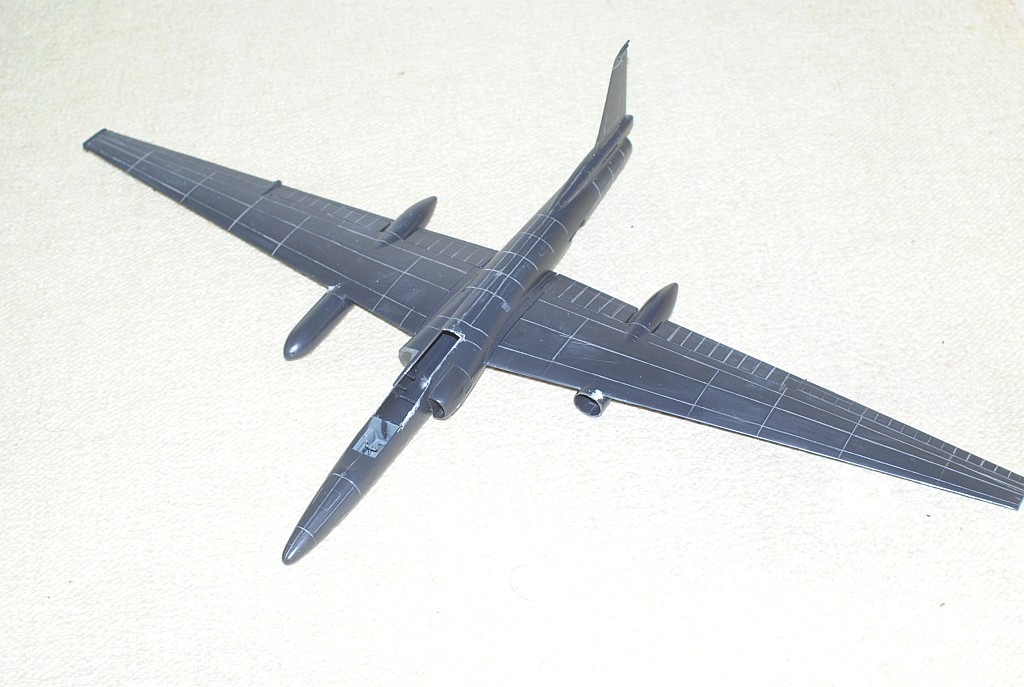
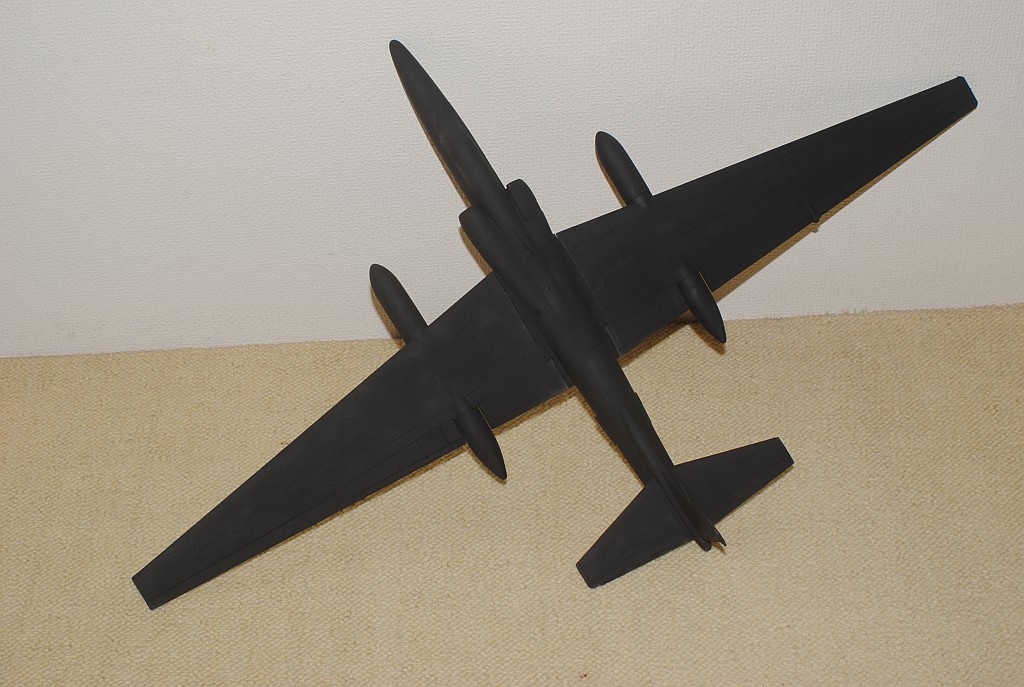
Photo-3 Tentative assembly - 2. High aspect-ratio main wing is beautiful. Since there remains painting unevenness, over spray was done -
Photo-4Tentative assembly - 3, after 2nd spraying,
Photo-5Tentative assembly - 4, after 2nd spraying.
This weekend's achievement
2016.12.17. Main undercarriage and rail wheel are painted -
Photo-1, and glued to the fuselage,
Photo-2,
Photo-3,
This weekend's achievement
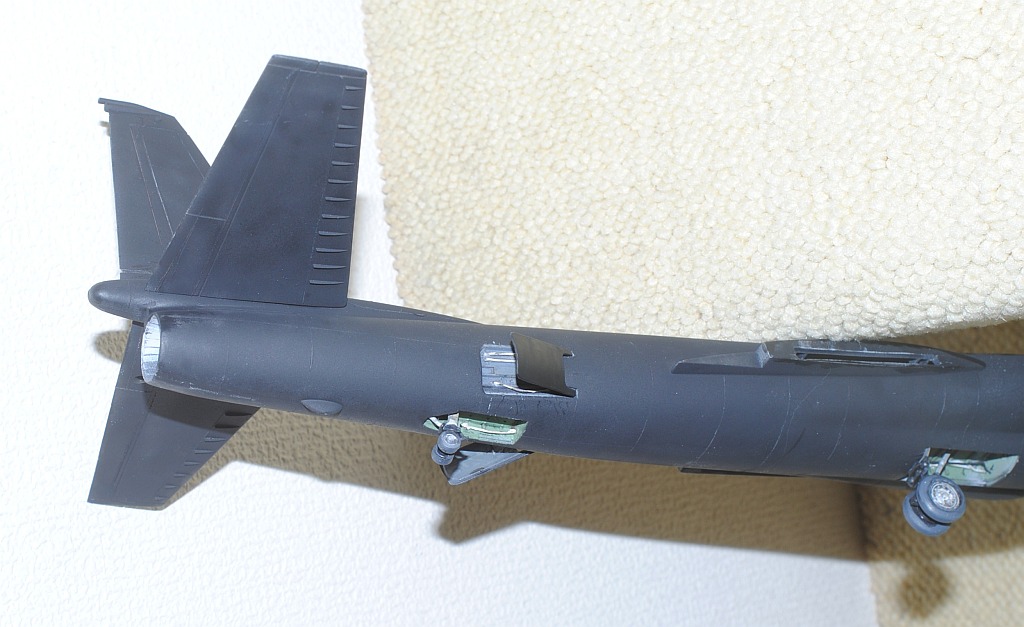
2017.1.8. Airbrake is glued in extended position
Photo-1 and Photo-2.
This weekend's achievement
2017.1.21. Masking tape of the cockpit is peeled off in some trepidation ,,, not bad! - Photo-1 and Photo-2. Then, main wings are temporarily assembled to the fuselage - - Photo-3, Photo-4, Photo-5.
This weekend's achievement
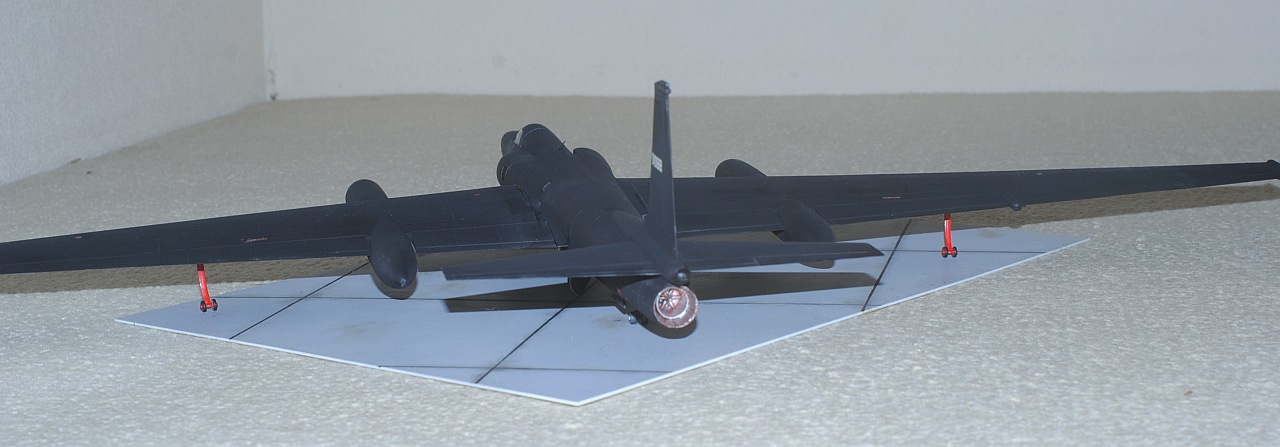
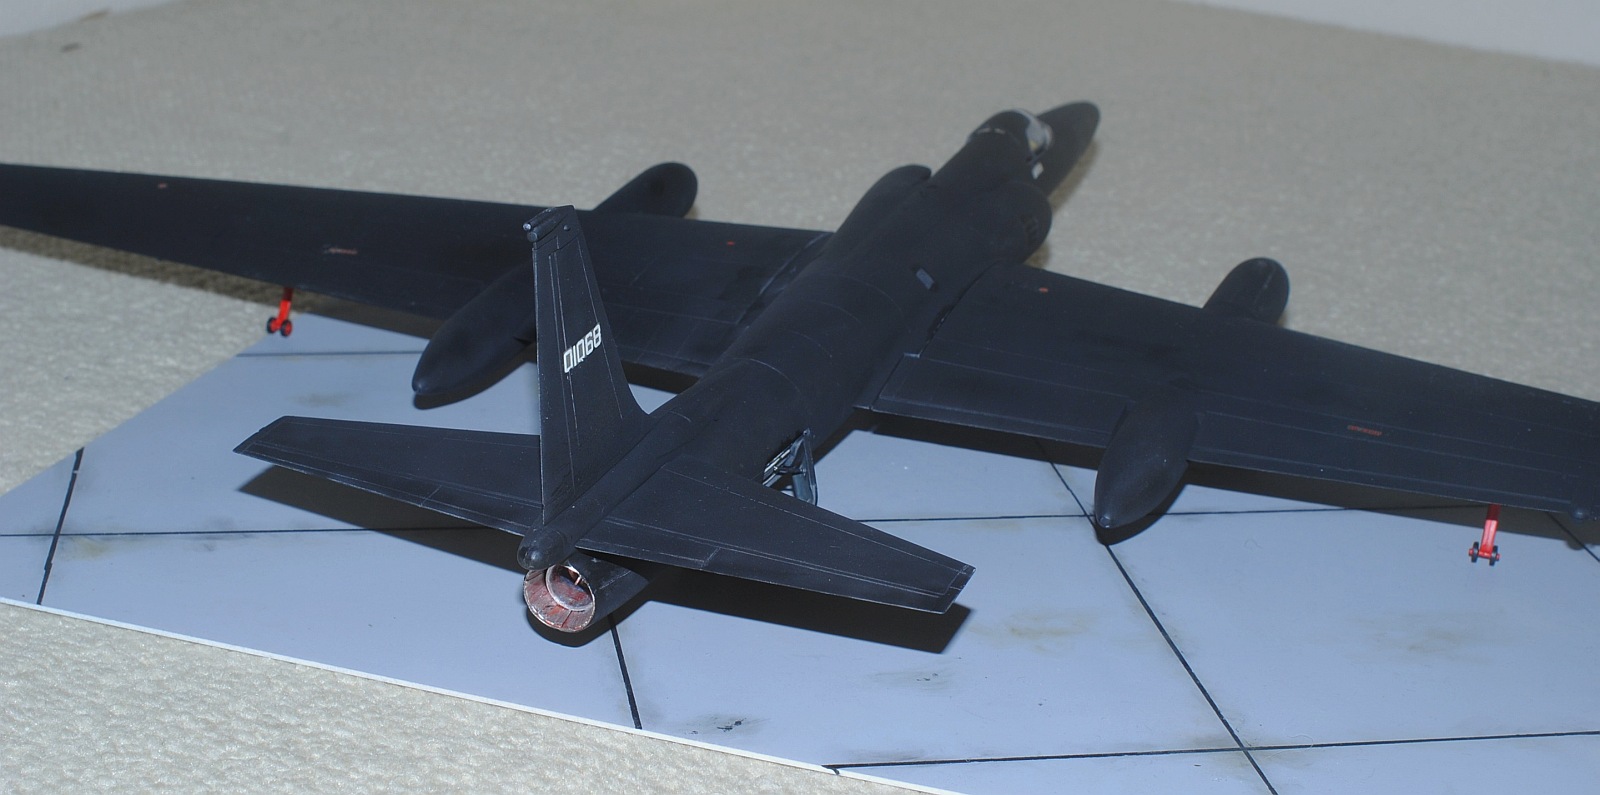
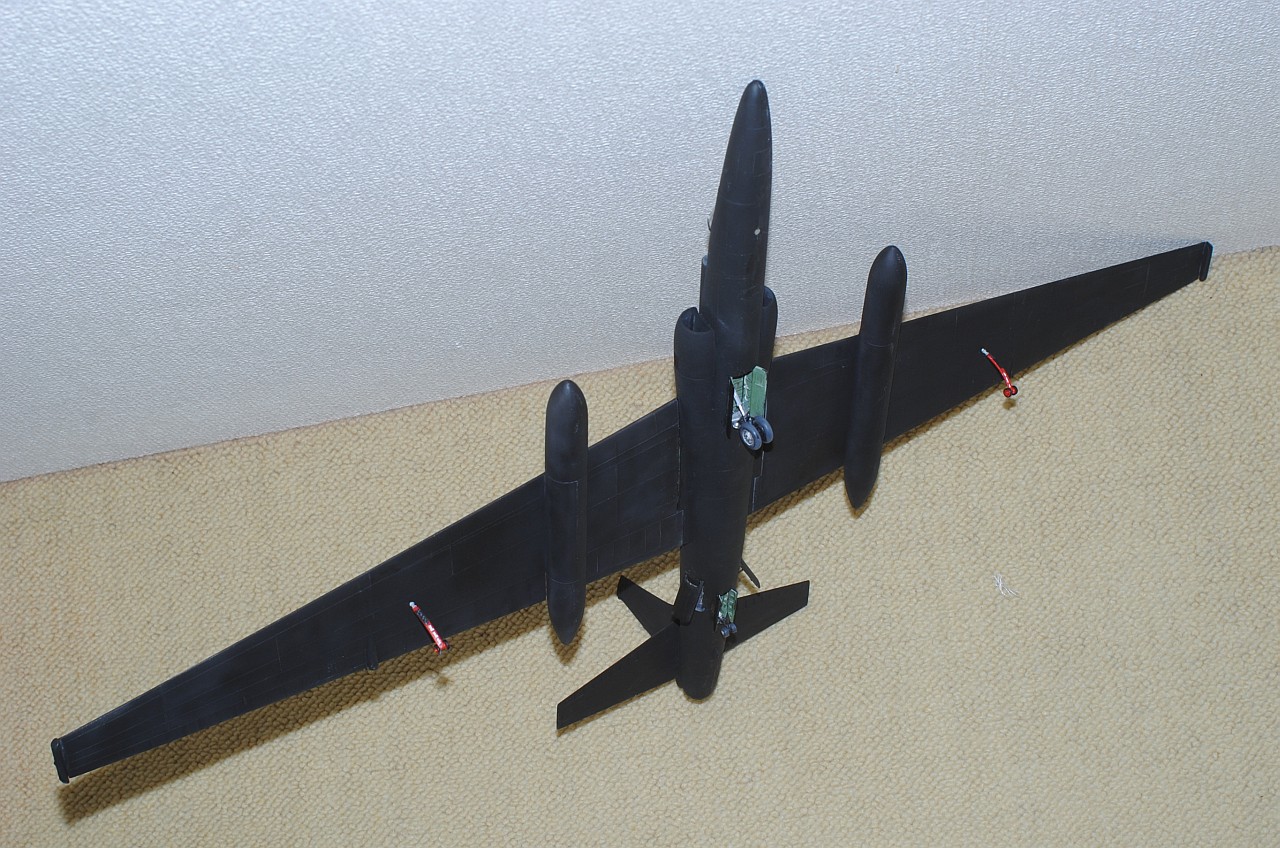
2017.2.25-26. Outriggers (drop side wheel) are finished -
Photo-1,
Photo-2,
Photo-3 (The real thing from Ref.1) - after taking off, these red outriggers are dropped. Then, temporary assembly is done -
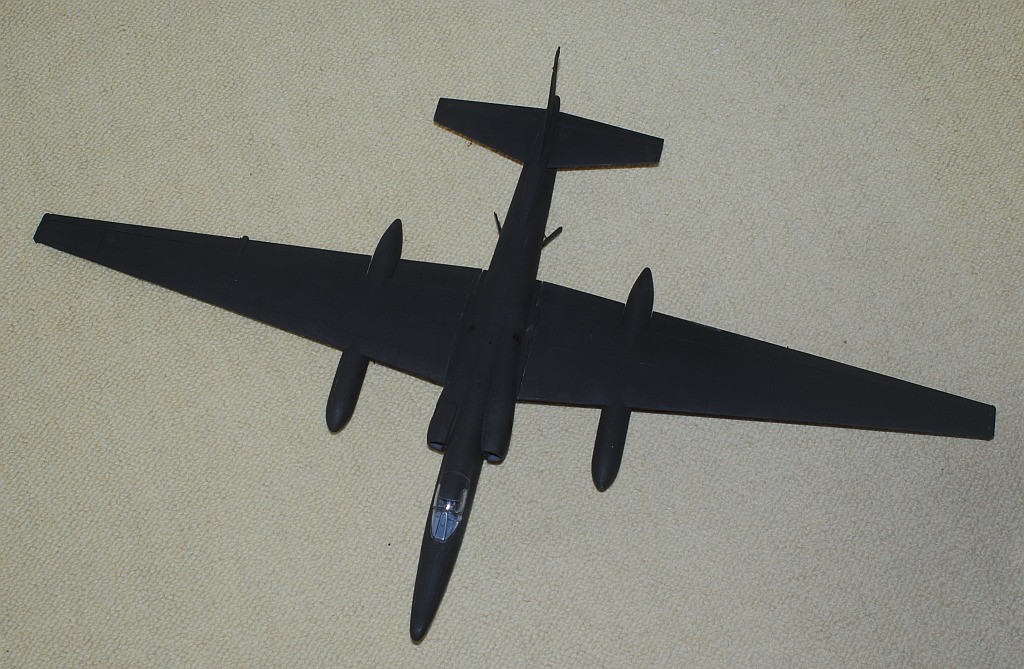
Photo-4 (frontal view),
Photo-5 (anterior right view),
Photo-6 (upper anterior right view),
Photo-7 (ventral view),
Photo-8 (taking-off posture).
This weekend's achievement
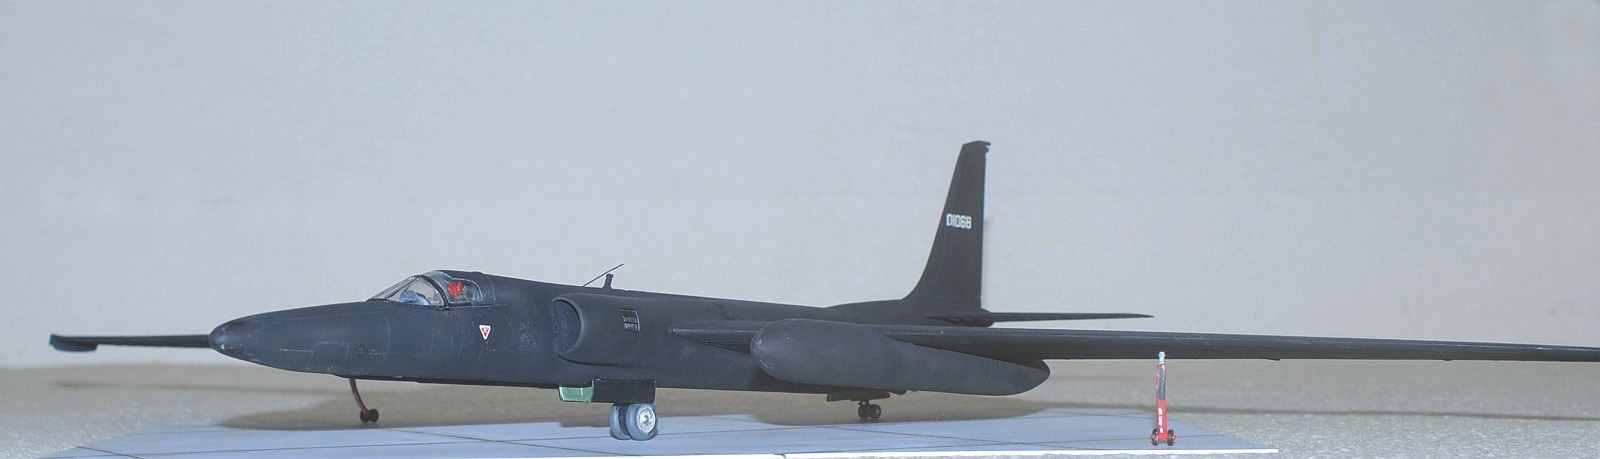
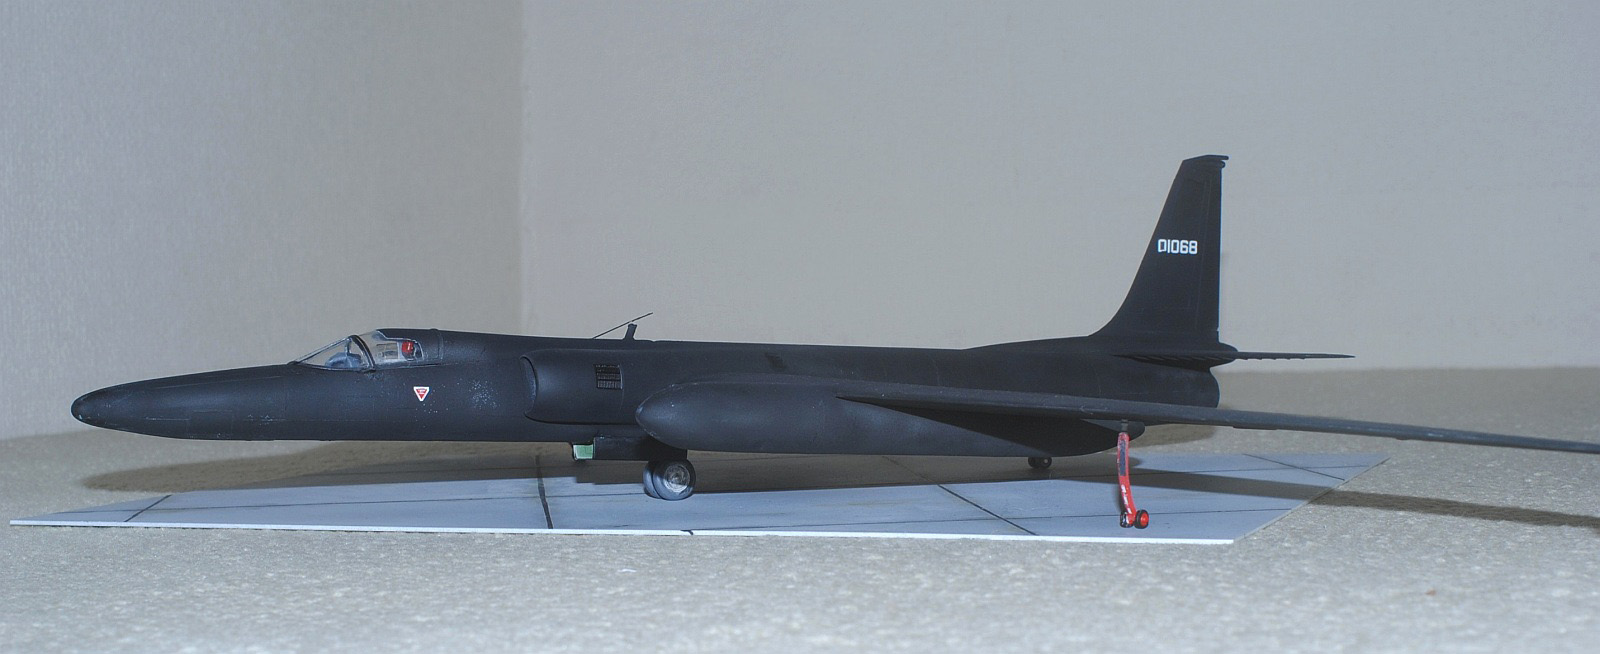
2017.8.14. I feel satisfaction with the result and take pictures of the completed model.
References:
1. Lockheed U-2 Dragon Lady. Famous Airplanes of the World, Vol 171, Bunrindo, Tokyo, 2016 (ISBN-10: 4893192426, ISBN-13: 978-4893192424).
Back to "Scale Model Hobby" Index Page
version 1.00 2017/08/14
Please send your comments to akio-h@fg-khn.jp
Back to previous Home Page at AOL (Till October 31 2008)
Back to previous Home Page at geocities.jp web host (Till March 31 2019)
Back to New Home Page (Translocated Sakura server)